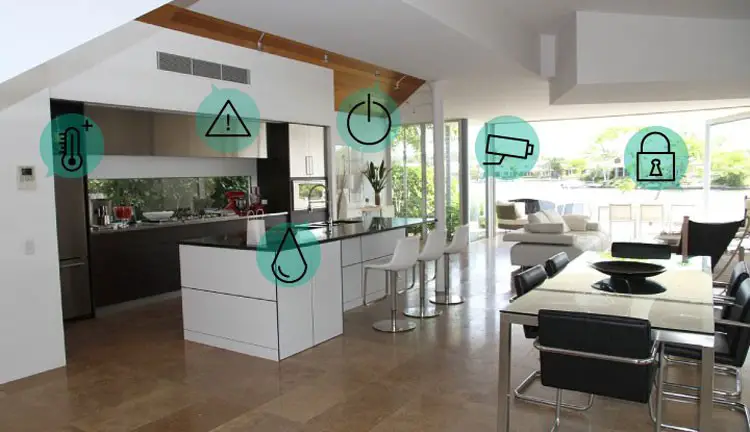
Most appliances in modern homes ranging from LED lights to security systems have become smart. Not only do these devices boast of intuitive features, but they can also communicate with each other via wireless networks. These networks use different protocols such as Wi-Fi, Bluetooth, and Z-Wave to name a few.
Z-Wave protocol is used by quite a few smart home devices and security systems. It operates in the 800-900 MHz frequency range and has low energy requirements. If you are a homeowner looking to set up a Z-Wave network, then the same can be accomplished in a few steps.
Purchase a Z-Wave Control Hub and Devices
One of the basic requirements for a Z-Wave network is to have Z-Wave devices. There is a wide range of Z-Wave devices that include sensors, thermostats, switches, outlets, cameras, and alarms. You can purchase one or more of these devices depending on your requirements. More devices can be added to the network anytime.
Some devices are listed as Z-Wave Plus instead of Z-Wave. Z-Wave Plus is an improved version of Z-Wave that comes with various enhancements such as better battery life and increased range. If you are purchasing a new device or hub, it is better to go for Z-Wave Plus devices over Z-Wave devices. If you already have some Z-Wave devices, there is no need to worry as Z-Wave Plus standard is backward compatible. Z-Wave Plus devices will work with older Z-Wave devices.
In addition to purchasing Z-Wave devices, you will also need to purchase a Z-Wave hub which is sometimes also called controller or gateway. A hub is the center point of a Z-Wave network. It can connect and communicate with different Z-Wave devices. You generally need one hub for your home. If you are purchasing a Z-Wave security system, the package may also include a Z-Wave hub, and you won’t have to purchase it separately.
Another factor to consider while purchasing a Z-Wave hub is compatibility. There is a wide range of Z-Wave products in the market. Some Z-Wave devices may work well with the Z-Wave hub of a particular company but may not be compatible with a hub of another company. Therefore, while purchasing Z-Wave products, make sure that the devices you are buying are compatible with your particular model of Z-Wave hub. Most Z-Wave product manufacturers list compatible devices on the boxes of their products or their websites. A few popular manufacturers of Z-Wave devices include ADT Pulse, Alarm.com, ASG Security, Honeywell security, GE, Samsung SmartThings, and Vivint.
Once you have purchased Z-Wave devices, you need to plug them in. While most Z-Wave hubs must be plugged in a socket, Z-Wave devices may either run on a battery or might require hard wiring. Plug in and power on your Z-Wave hub and devices. Most Z-Wave devices are simple and easy to install though a few may require experts and technicians.
Install Z-Wave Hub Software
Each Z-Wave hub comes with a software or a web interface that allows homeowners to interact with the Z-Wave devices installed in their homes. The software can be installed on a smartphone, tablet, computer or laptop. Some companies allow users to control Z-Wave devices through websites. Homeowners must create an account on the website provided by the hub manufacturer. A few software also require their users to create an account.
Most Z-Wave hubs can send notifications to homeowners via application or email. The hubs require an active Internet connection for the same. They will either connect to your home’s Wi-Fi network or have an Ethernet port for connecting it to a LAN network. An active internet connection may also enable you to update the firmware of your Z-Wave devices. Connect your hub to your home’s Wi-Fi or LAN network.
Connecting Devices To A Z-Wave Network
Most Z-Wave hub software have easy to use interfaces. Open the user interface and look for the “Add Device” or similar option.
When you select the ”Add Device”, you may be prompted to select the type of device you wish to add. The list may contain items like alarms, sensors, cameras, etc. Choose the type of device that you wish to add. If you are adding a device such as a smart socket or sensor you may be again prompted to specify a duration for learning mode. Enter an appropriate duration for learning mode. During this duration, the device will not function but adjust its sensitivity or other parameters.
Each device has a Z-Wave button on it. Press the Z-Wave button on the device that you wish to add to the Z-Wave hub. After a few seconds, your Z-Wave device will be recognized and listed by the hub’s software.
You only need to add a device once through these steps. The device can then be accessed and switched on or off through the software. You can also defined schedules and system events for your Z-Wave devices. These schedules allow you to switch your devices on or off with sunset and sunrise or at a particular time of the day. You can also set events to trigger your Z-Wave devices such as switching on security lights when motion sensors are triggered. More details for the same will be given in the user manual of your Z-Wave hub.